


How to create Stock Group, Unit, Godown and stock item in Tally Prime. Step by Step Notes with practice assignment for Self Study of learners.
Create a New Company for Practice the creation of Stock Group, Godown, Unit and Stock Item
F3 : (Company) > Create Company| Accounting : | |
|---|---|
| Maintain Account | :Yes |
| Enable bil wise entry | :Yes |
| Inventory : | |
| Maintain Inventory | :Yes |
| Integrate Accounts with Inventory | :Yes |
| Taxation : | |
| Enable GST | :No |
Create Stock Group in Tally Prime
Gateway of Tally > Masters > Create > Inventory Masters > Stock Group| Stock Group | Under |
|---|---|
| System | Primary |
| Parts | Primary |
| Mother Board | Parts |
| CD Rom | Parts |
| System | Primary |
| Eight Speed | CD Rom |
| Ten Speed | CD Roms |
| System | Primary |
| Software | Primary |
| Ace | Software |
| King | Software |
| Queen | Software |
Create Godown / Location
Gateway of Tally > Masters > Create > Inventory Masters > Godown Main Location exists by default. Create following new Godown| Godown | Under |
|---|---|
| Onside | Primary |
| Ware House | Primary |
Create Unit
Gateway of Tally > Masters > Create > Inventory Masters > Unit| Symbol | Formal Name |
|---|---|
| Nos | Number |
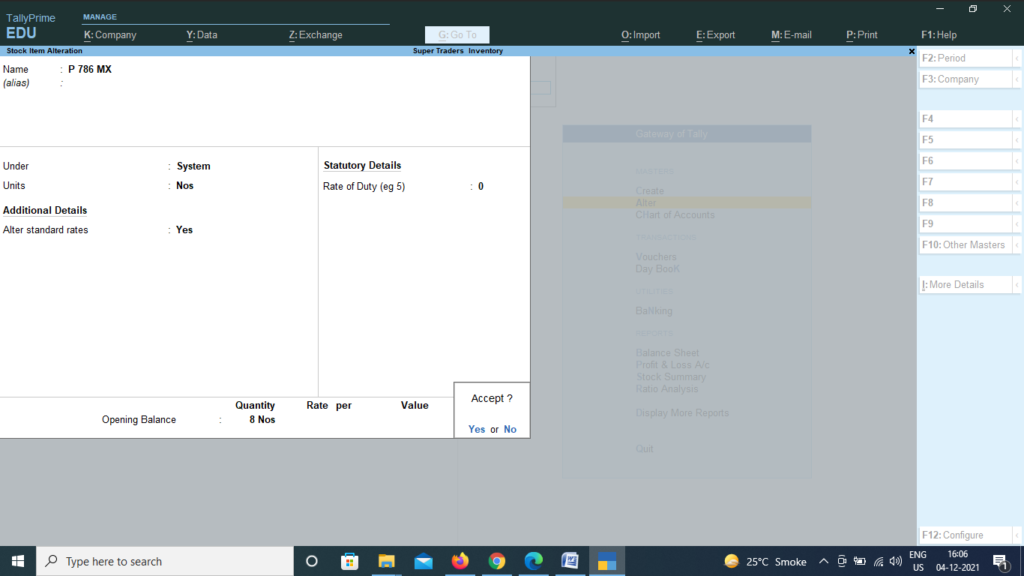
Create Stock Item in Tally Prime
Gateway of Tally > Masters > Create > Inventory Masters > Stock itemF12 : Configure > Show More Configuration : Yes
Inventory details : Provide Standard Buying and Selling Rates : (Yes)
During creation of following items use
Units: Nos
Set Standard Rates (Yes) : Provide Rate of respective item from below table.
Opening Balance : Quantity of item
Godown : Onside and Warehouse, as mentioned below (Do’t fill rate here)
| Item Name | Under | Standard Cost Rate | Selling Price Rate | Quantity | Onside | Warehouse | Amount |
|---|---|---|---|---|---|---|---|
| P086 MX | System | 750 | 940 | 8 | 7 | 1 | 600 |
| P092 MX | System | 900 | 1130 | 15 | 2 | 13 | 13500 |
| P110 MX | System | 1030 | 1290 | 12 | 2 | 10 | 12360 |
| MBP 133 | Parts | 240 | 320 | 2 | 2 | 0 | 480 |
| MBP 150 | Parts | 285 | 380 | 6 | 6 | 0 | 1710 |
| MBP 166 | Parts | 335 | 450 | 10 | 10 | 0 | 3350 |
| Gold 8 | Eight Speed | 45 | 60 | 2 | 2 | 0 | 90 |
| Silver 8 | Eight Speed | 55 | 70 | 4 | 4 | 0 | 220 |
| Brown 8 | Eight Speed | 60 | 80 | 4 | 4 | 0 | 240 |
| Gold 10 | Ten Speed | 75 | 100 | 25 | 25 | 0 | 1875 |
| Silver 10 | Ten Speed | 95 | 130 | 20 | 20 | 0 | 1900 |
| Data Base A | Ace | 175 | 250 | 10 | 10 | 0 | 1750 |
| Speed Short A | Ace | 155 | 220 | 15 | 15 | 0 | 2325 |
| Data Base K | King | 100 | 150 | 7 | 7 | 0 | 700 |
| Speed Short K | King | 140 | 200 | 8 | 8 | 0 | 1120 |
| Data Base Q | Queen | 210 | 306 | 10 | 10 | 0 | 2100 |
| Speed Short Q | Queen | 70 | 100 | 4 | 4 | 0 | 280 |
Go To (Alt+G) : Stock Query : To check individual items
Go To (Alt+G) : Stock Summary > F5 (stock Item wise)
Go To (Alt+G) : Stock Summary > F5 (stock Item wise)
.png)


.png "Installing Tally on Windows 11 | install tally prime | how to install tally prime in laptop | how to install tally prime")

.jpg "What is GST | Rules of GST | GST e-filing process")